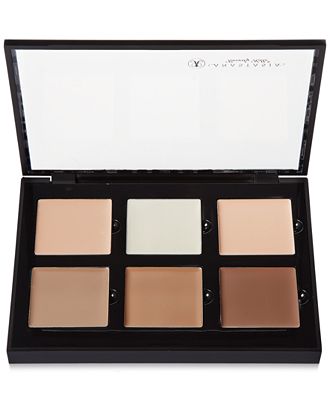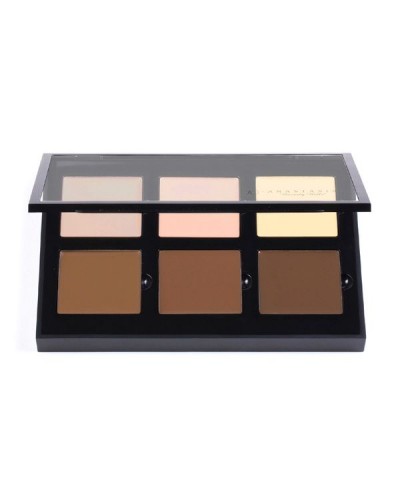
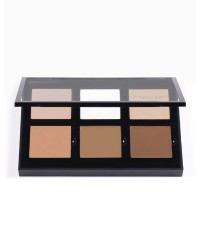
“For contouring newbies, the premise is to create depth by “colouring in” shadows, then brightening the ‘high points’ of your face where light would naturally strike – cheeks, chin, forehead and bridge of the nose”. Once you learn what you’re doing, the effects can be great. You blend the contour color on the area you want to “adjust”. You can use the Pro Face Detail Brush or if you’re lazy or rushing, you can use your fingers. Contouring gives your face instant definition. If you’re ready to try “the tricks of the trade” click the purple links or the actual images to indulge. Be sure and watch Anastasia’s tutorial. (will definitely help you) These kits and the Flatter Yourself Contour Brush Kits make the best holiday gifts or stocking stuffers!
Here are three contouring tips. Click this link to find out more ways to look “contoured”.
1. Drag a line of contour 2-3 shades darker than your skin tone at an angle from the top of the ear to the corner of the mouth (going lighter as it reaches the mouth area so the contour line can disappear before hitting the laugh line). This step chisels the hollows of the cheeks.
2. Contour the temples and top of the forehead (along hairline) to minimise a large forehead and create a ‘3D’ effect.
3. Apply the same powder along the jawline under the ear and connecting the chin, to chisel the jawbone.
XOXO,

